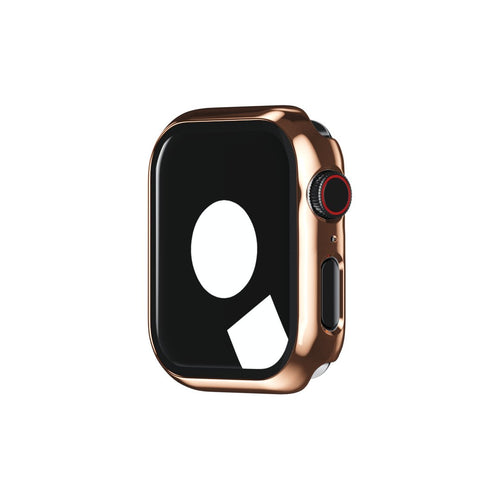
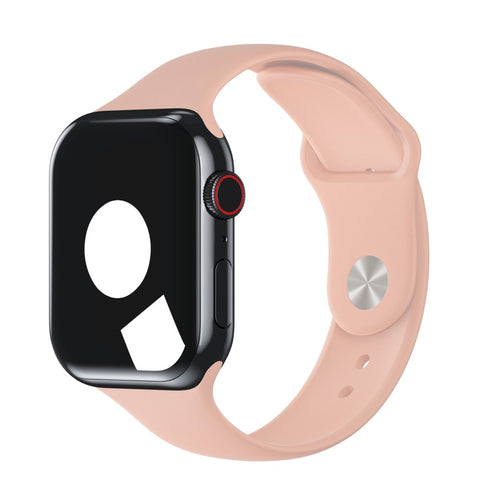
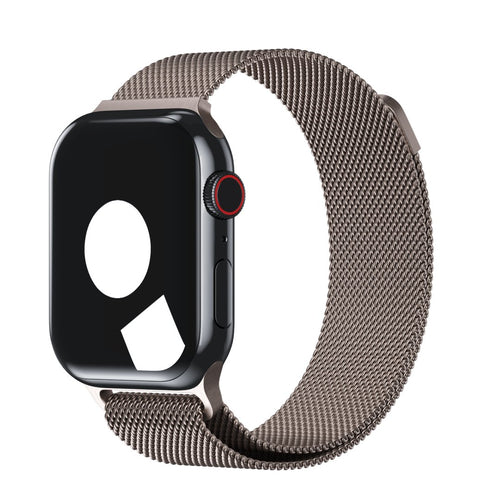
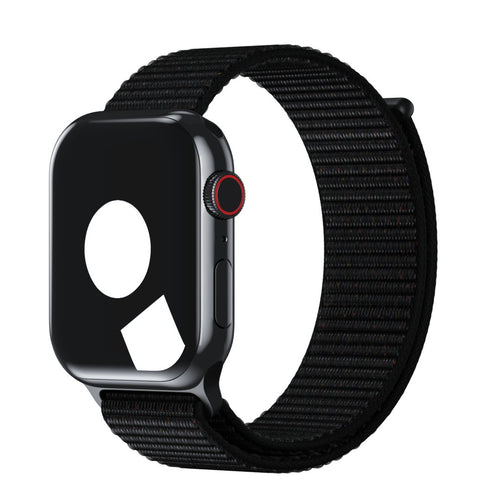
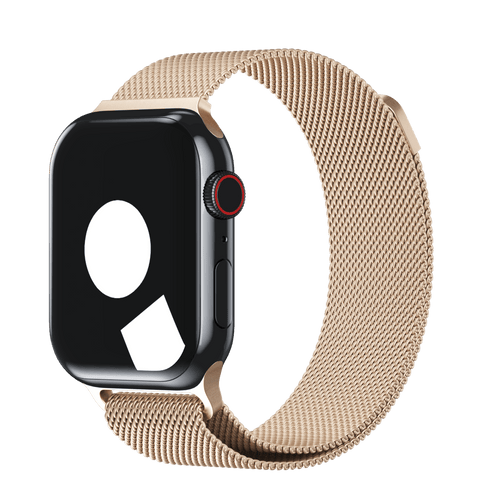
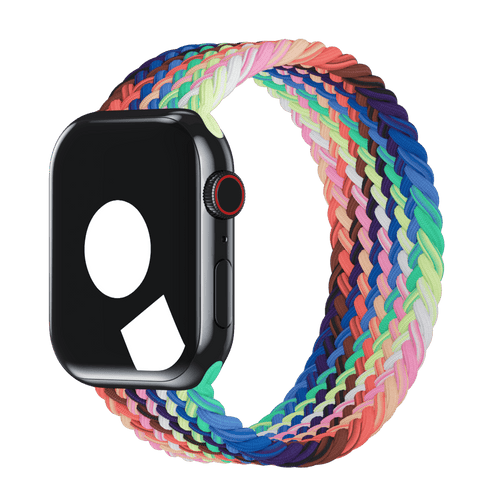
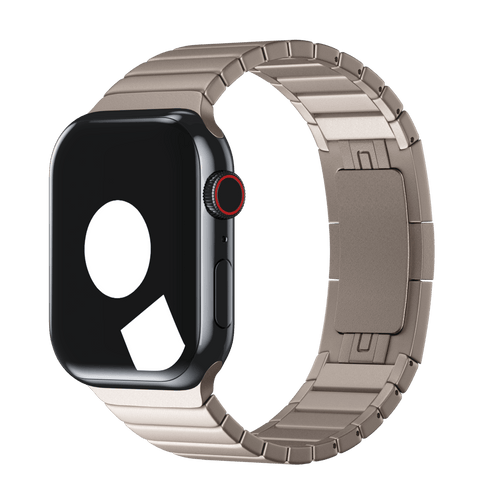
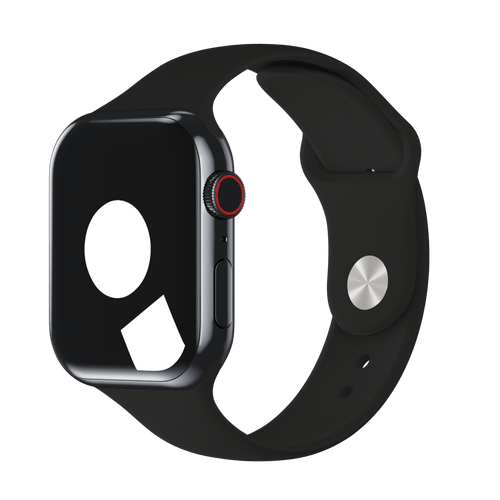
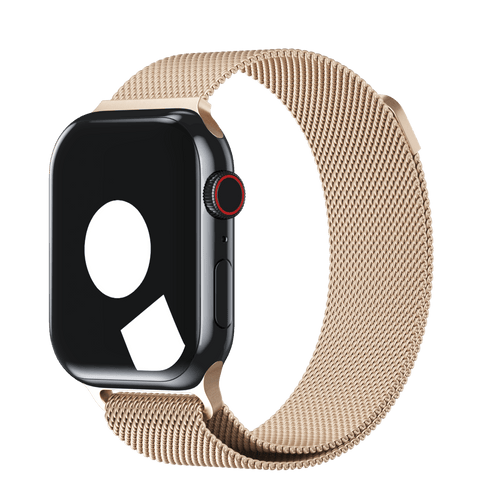
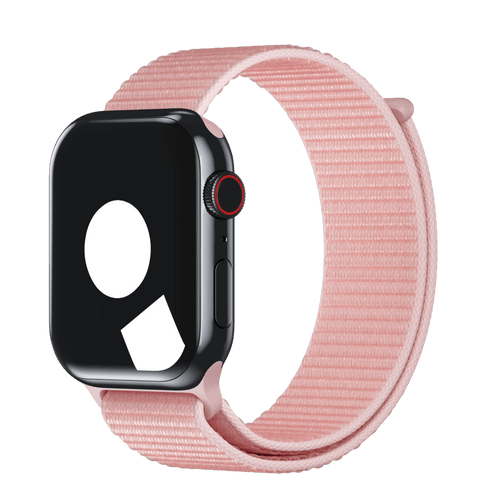
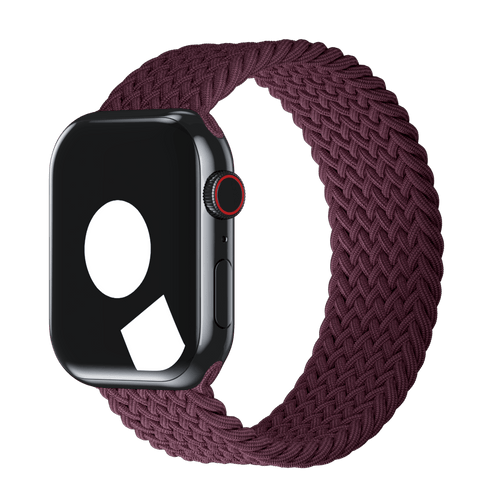
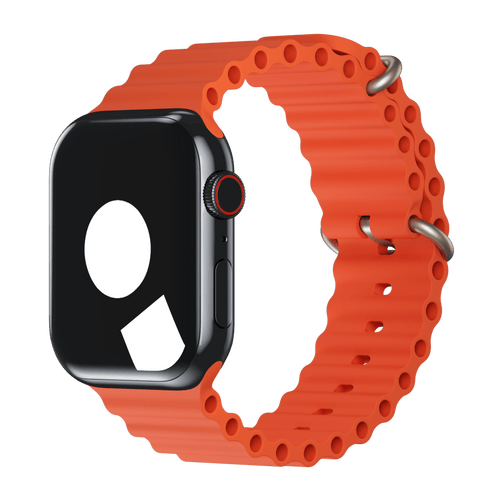
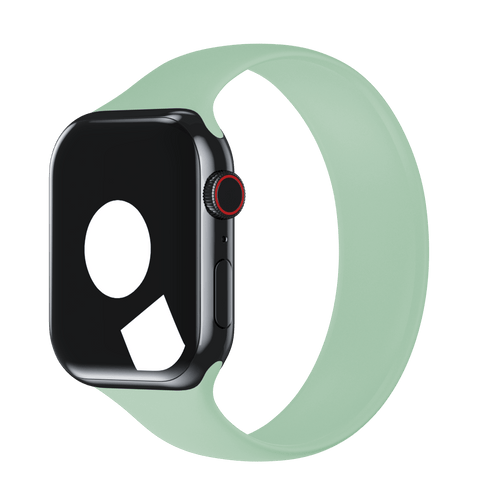
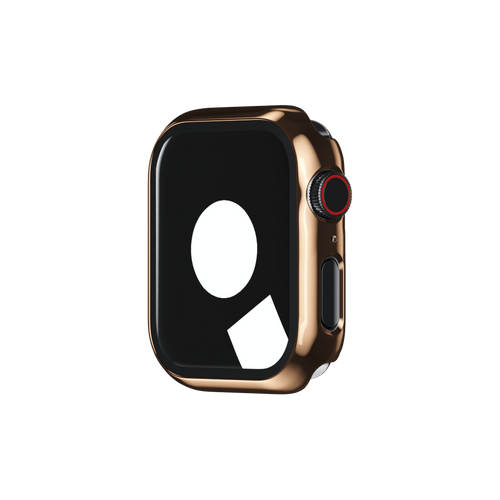
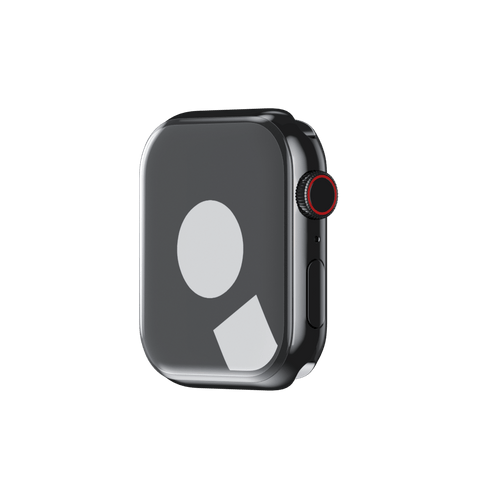
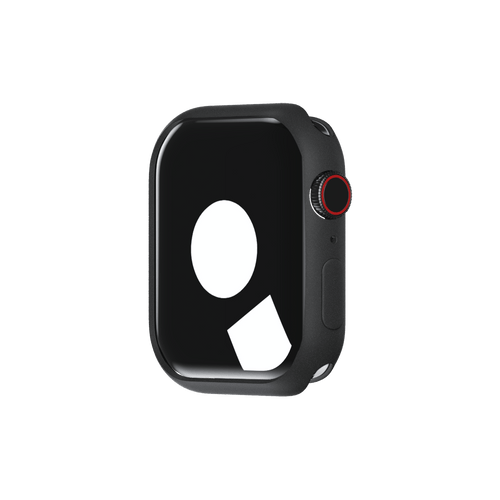
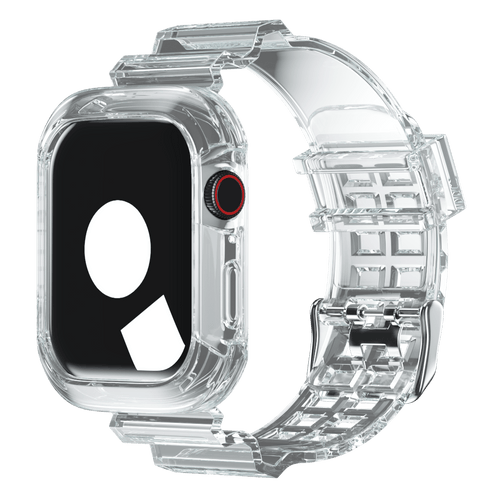
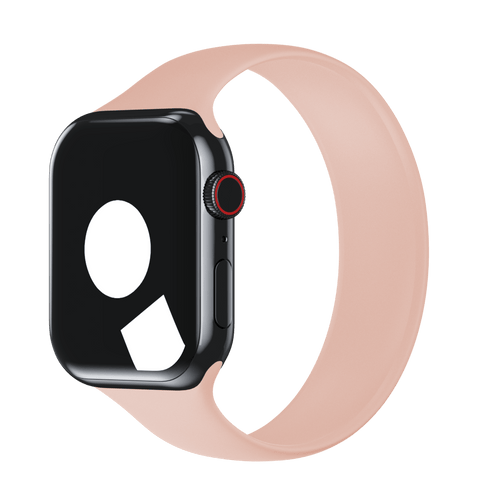
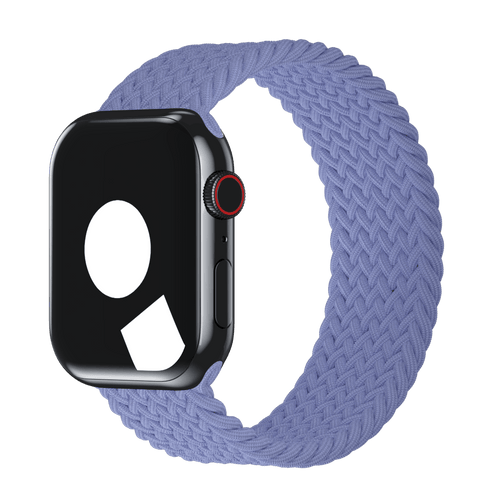
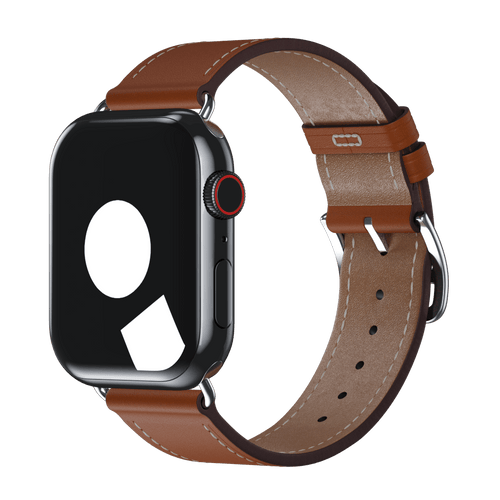
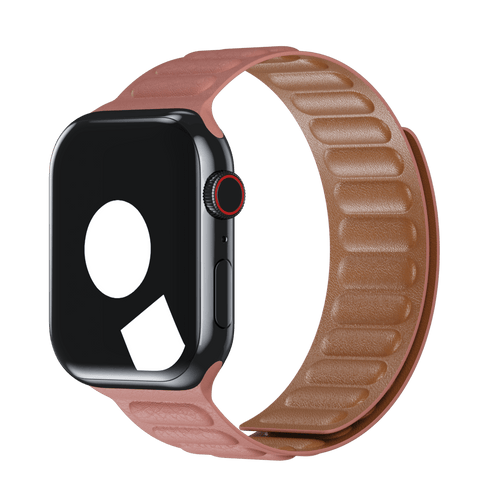
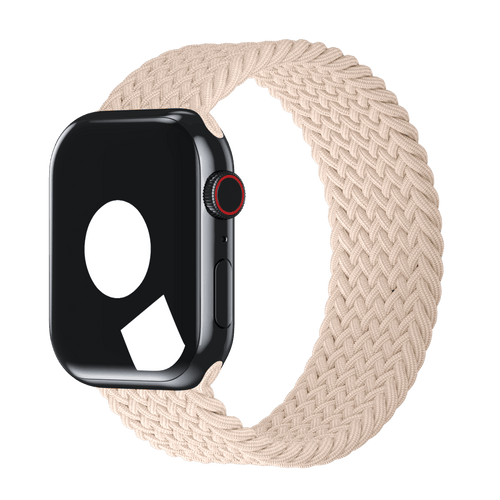
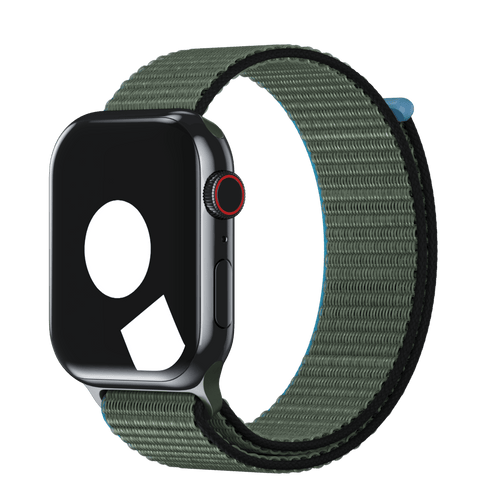
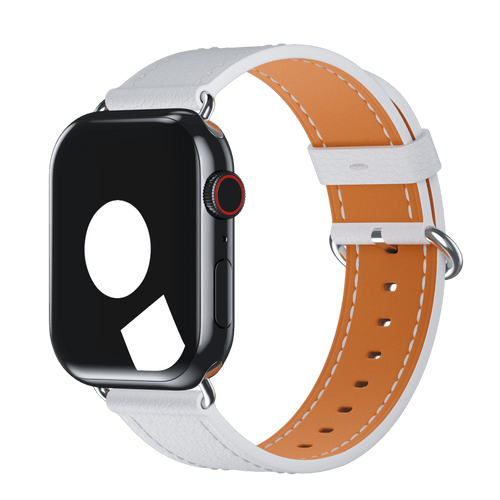
Are you a proud owner of an Apple Watch, adorned with the latest stylish straps and protective screens from iSTRAP? As much as we love the seamless connectivity between our Apple devices, there may come a time when you need to part ways with your Apple Watch, be it for an upgrade or a troubleshooting session. Fear not! Unpairing your Apple Watch from your iPhone doesn’t have to be daunting. In fact, with our step-by-step guide, you'll breeze through the process effortlessly, ensuring that your beloved accessory remains in top-notch condition. Let’s dive in!
Why Unpair Your Apple Watch from Your iPhone?
Unpairing your Apple Watch from your iPhone is essential for various reasons:
Device Upgrades: Whether you’re upgrading to a newer model or simply switching to a different device, unpairing ensures a smooth transition without any data conflicts.Troubleshooting: If you encounter connectivity issues, glitches, or performance hiccups with your Apple Watch, unpairing and re-pairing it can often resolve these issues.
Security and Privacy: Before selling, gifting, or handing over your Apple Watch to someone else, unpairing it ensures that your personal data is wiped clean, safeguarding your privacy.
A Step-by-Step Guide to Unpairing Your Apple Watch from Your iPhone
Follow these simple steps to safely unpair your Apple Watch from your iPhone:
Step 1: Backup Your Apple Watch Data
Before proceeding with the unpairing process, it's crucial to back up your Apple Watch data to your iPhone. This ensures that you can restore your settings, apps, and data if needed. Here’s how:
- Open the Watch app on your iPhone.
- Navigate to the "My Watch" tab.
- Tap on your Apple Watch at the top of the screen.
- Select “Unpair Apple Watch.”
- Confirm the unpairing process by tapping “Unpair [Apple Watch Name].”
Step 2: Erase Your Apple Watch
Once you've confirmed the unpairing process, your iPhone will begin erasing all data from your Apple Watch. This process may take a few minutes to complete. Here's what to do:
- Ensure that your Apple Watch and iPhone are kept close together during the erasing process.
- Your Apple Watch will display the Apple logo and a progress bar indicating the erasing process.
Step 3: Set Up Your Apple Watch
Once the erasing process is complete, you'll be prompted to set up your Apple Watch again. You have two options:
- Set Up as New: If you intend to continue using your Apple Watch, select this option to set it up as a new device. Follow the on-screen instructions to customise your settings, apps, and preferences.
- Pair with Another iPhone: If you're transferring your Apple Watch to another iPhone user, choose this option. Ensure that the new iPhone is nearby and follow the prompts to pair your Apple Watch with the new device.
Why Choose iSTRAP for Your Apple Watch Accessories?
At iSTRAP, we understand the importance of protecting and accessorising your Apple Watch. That's why we offer a wide range of straps, cases, and protective screens designed to enhance your Apple Watch experience. Here are a few reasons to choose iSTRAP:
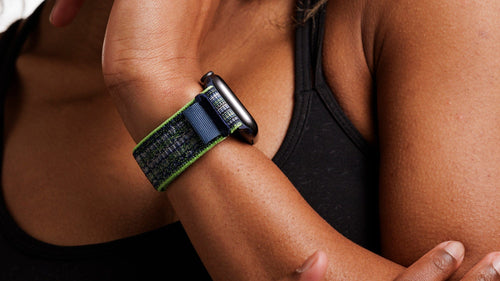
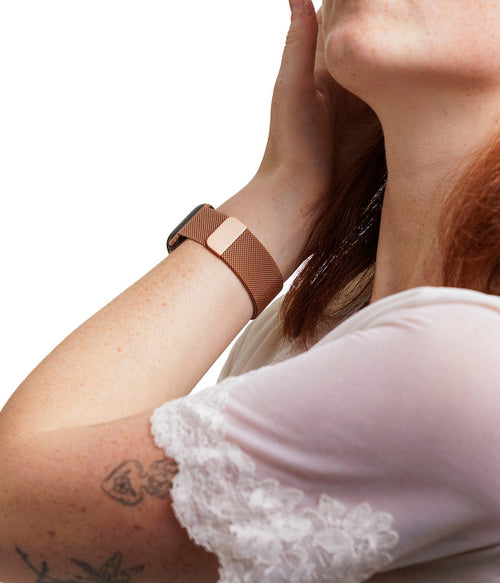
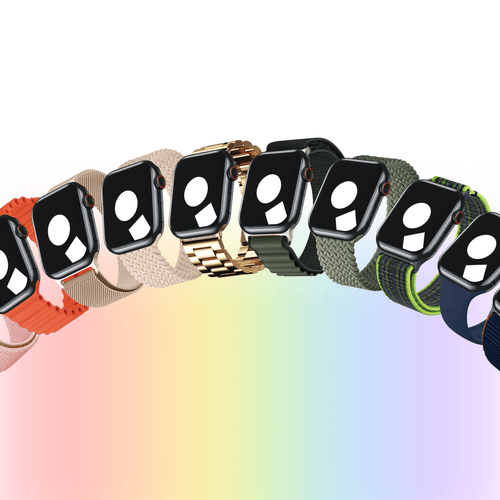
Quality: Our straps are crafted from premium materials such as leather, stainless steel, and silicone, ensuring durability and comfort.
Stylish Designs: Whether you prefer a classic leather look, a sporty silicone band, or a sleek stainless steel bracelet, we have a variety of designs to suit your style.
Enhanced Protection: Our cases and protective screens provide an extra layer of protection for your Apple Watch, safeguarding it against scratches, bumps, and everyday wear and tear.
Easy Installation: All of our accessories are designed for easy installation and removal, allowing you to change up your look whenever you like.
Unpairing your Apple Watch from your iPhone is a simple yet essential process that ensures a smooth transition when upgrading your device, troubleshooting connectivity issues, or protecting your privacy. By following the steps outlined in this guide, you can safely disconnect your Apple Watch from your iPhone without any hassle.
